今回は、Illustratorで円柱を作成する方法に関してご紹介します。
3つの手法で円柱を作成可能です。
目次
楕円形ツールとペンツールで作成
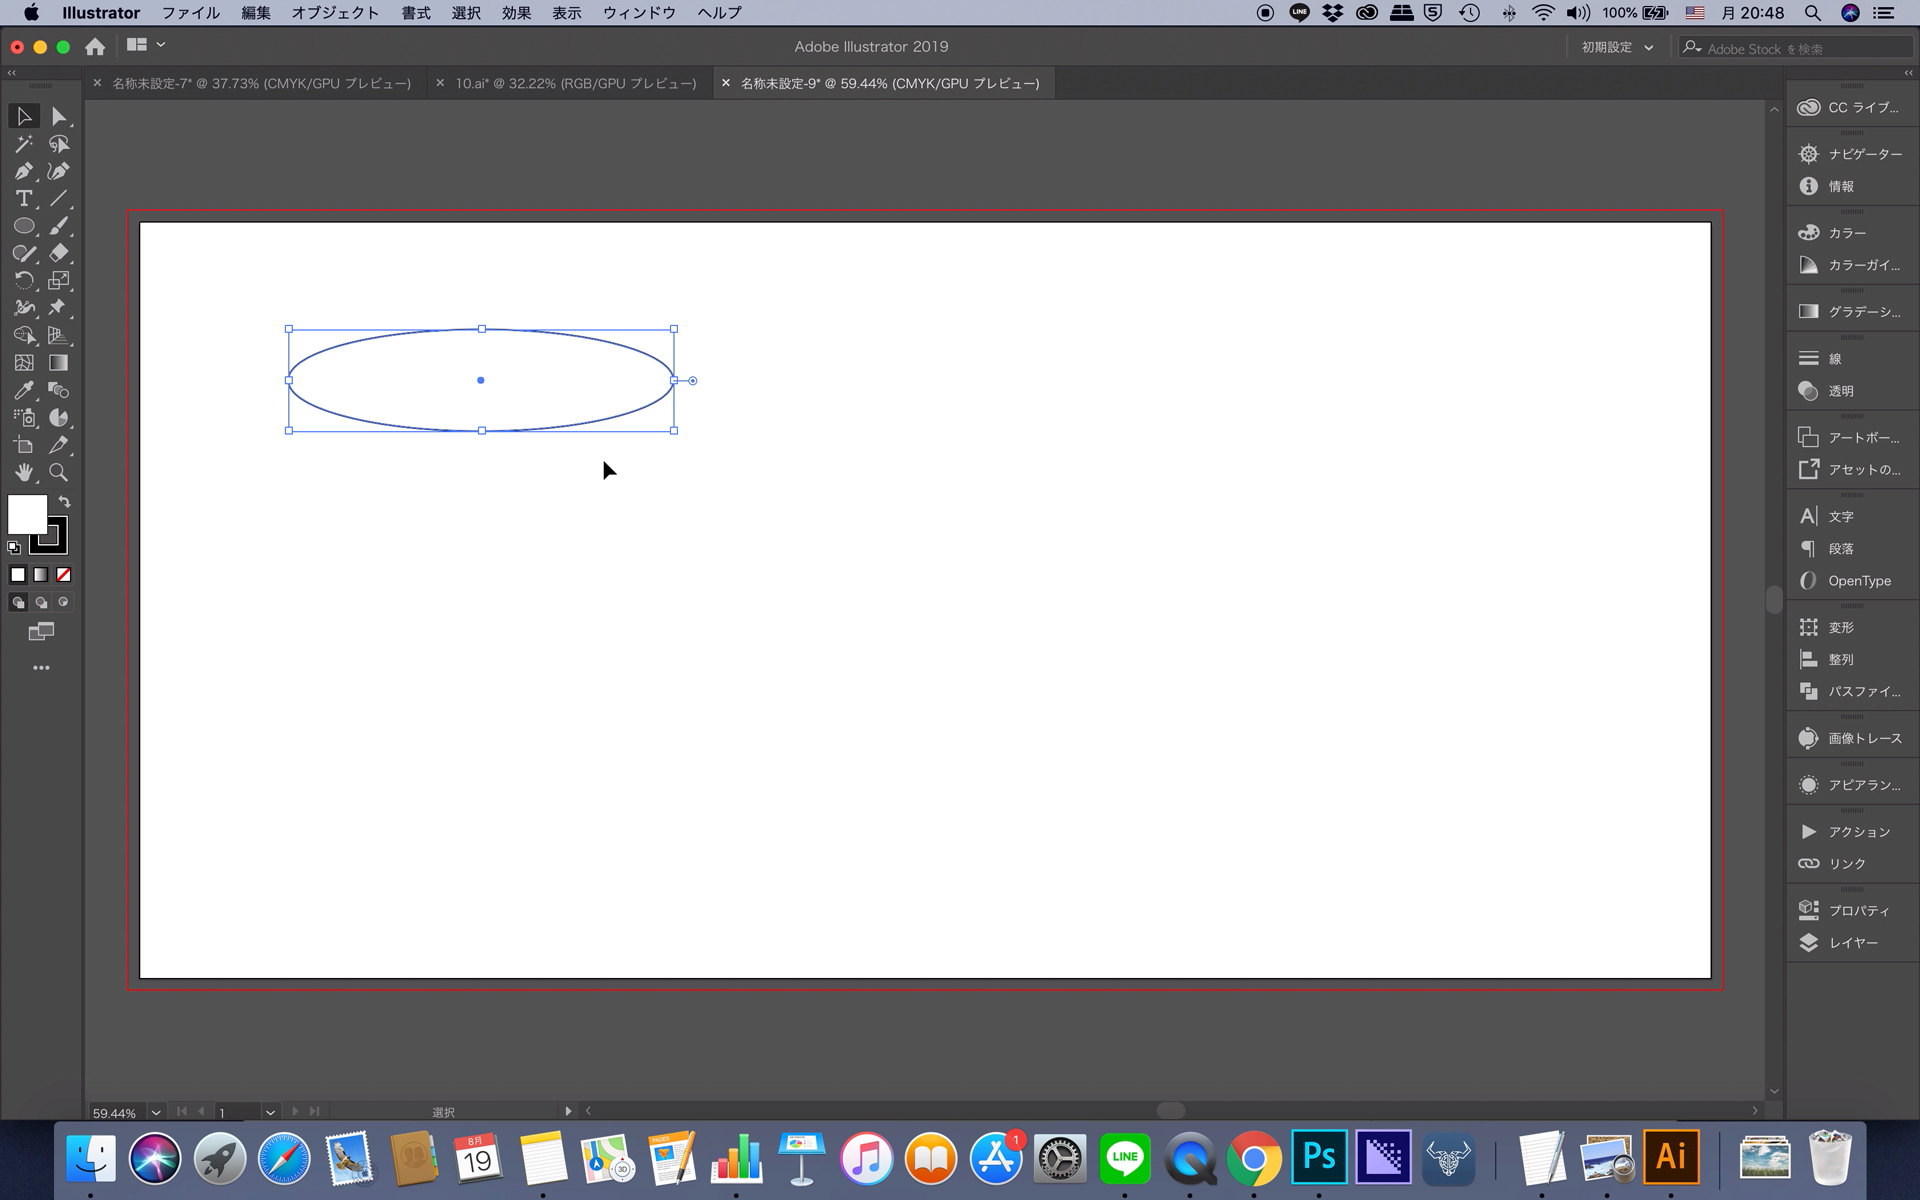
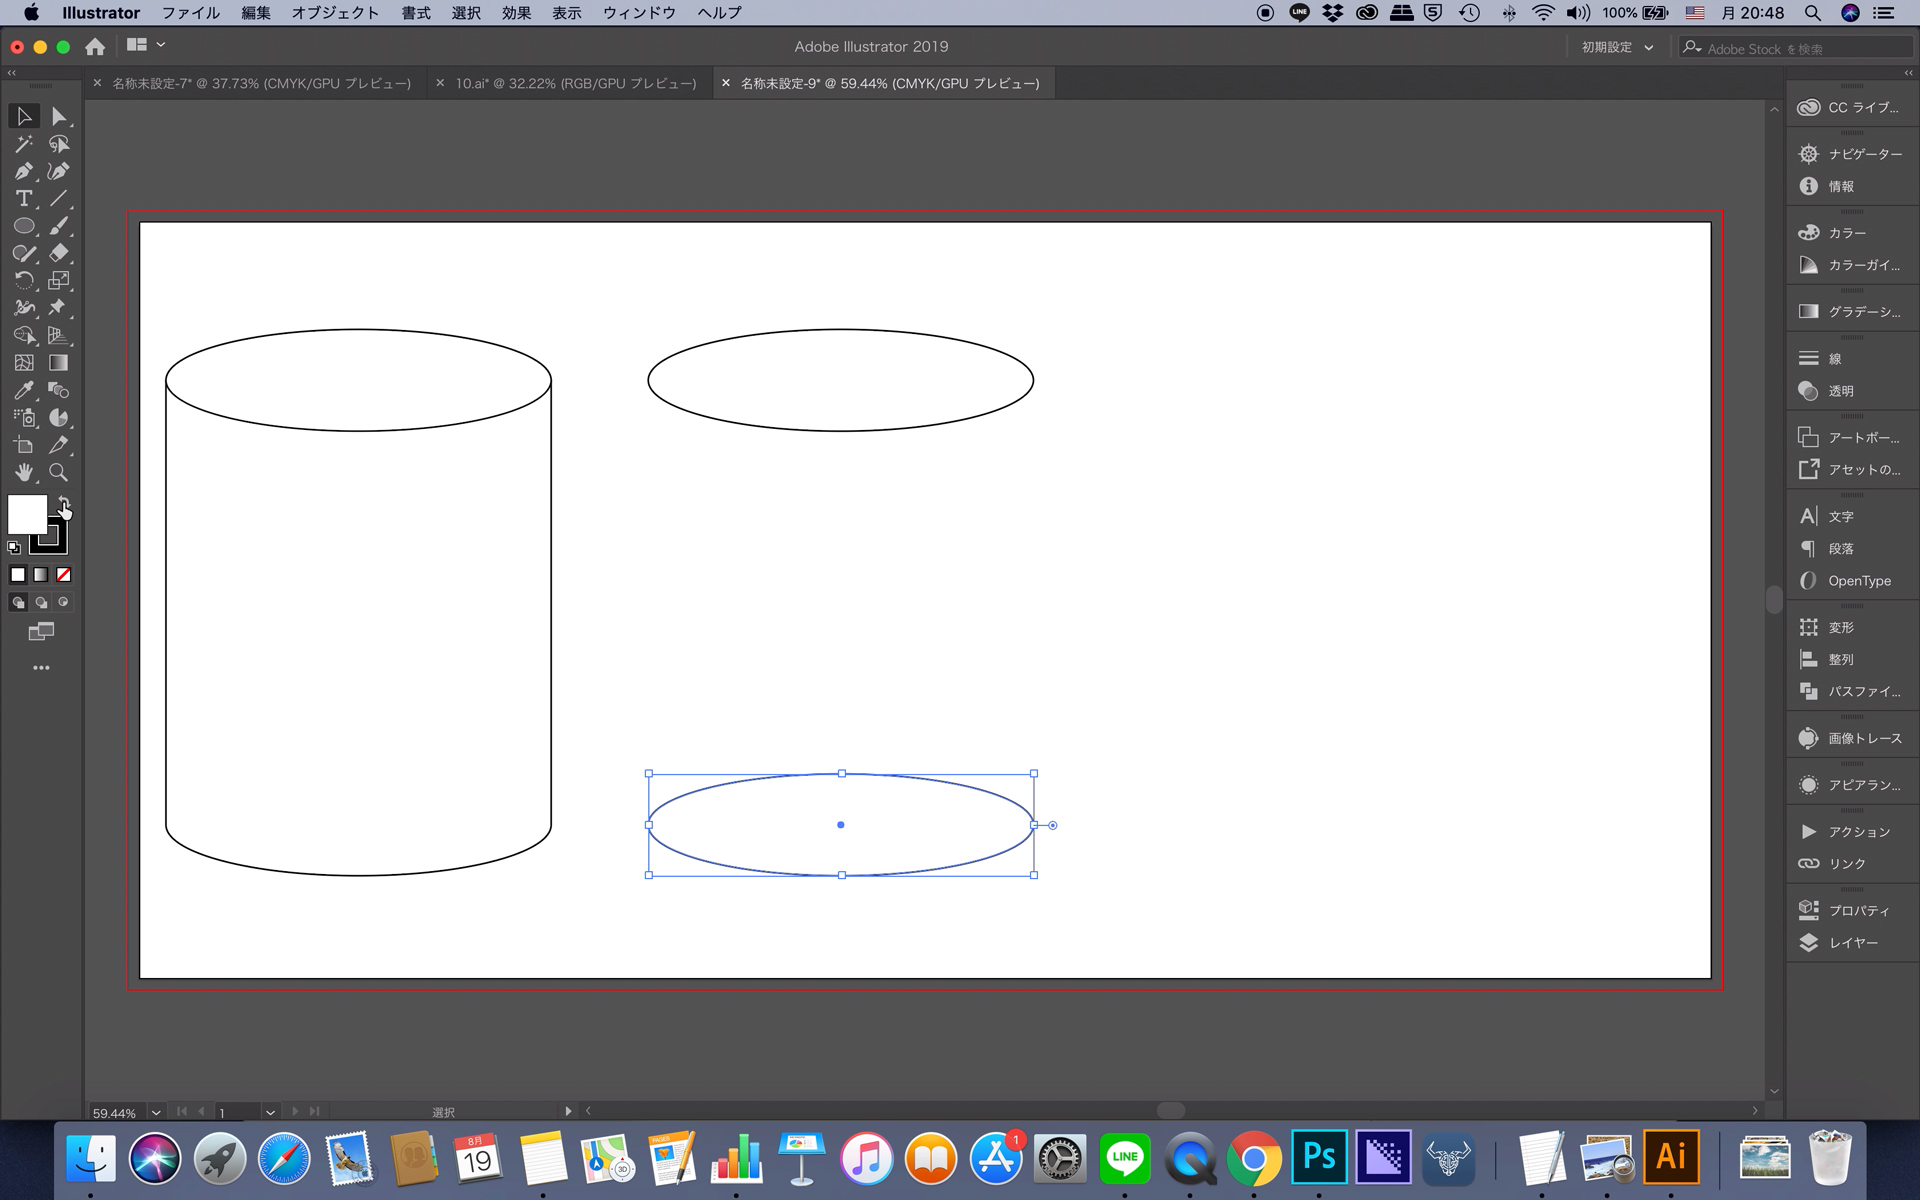
まずは、楕円形ツールで細長い楕円形を作成します。
楕円形を作成したら、同じ楕円形を複製します。
楕円形を左クリックしながら、Altキーを押してドラッグすると複製ができます。
複製した下の楕円形の上半分をダイレクト選択ツールで選択して、Deleteキーを押して上半分を消してください。

あとは、ペンツールで上の円まで、円柱の表側となるパスを作成すれば完了です。
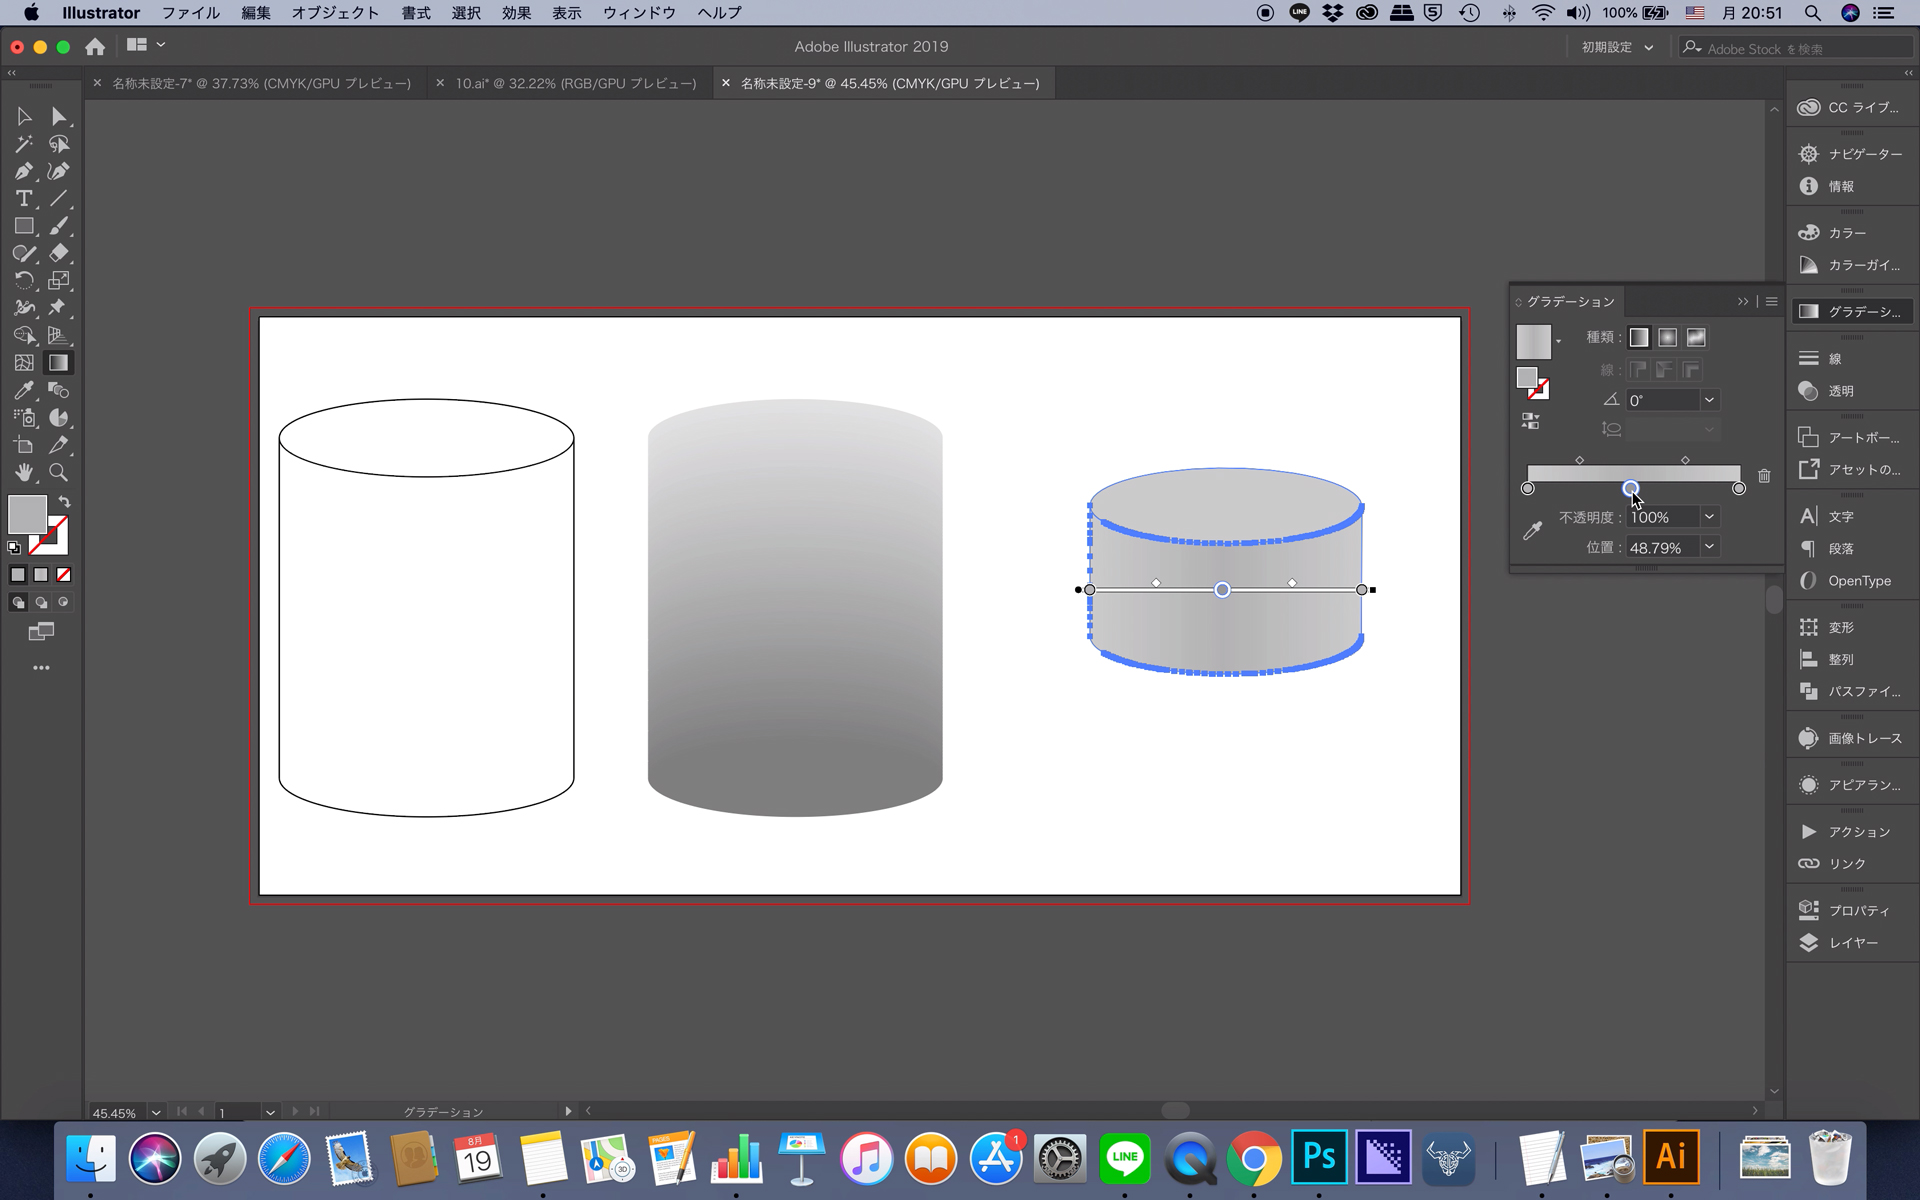
作成したパスを上の楕円形の背面に配置すれば完成です。
任意の色やグラデーションをかけたら完璧ですね。

ブレンドを使用
楕円形ツールで細長い楕円を作成し、先ほど同様複製します。
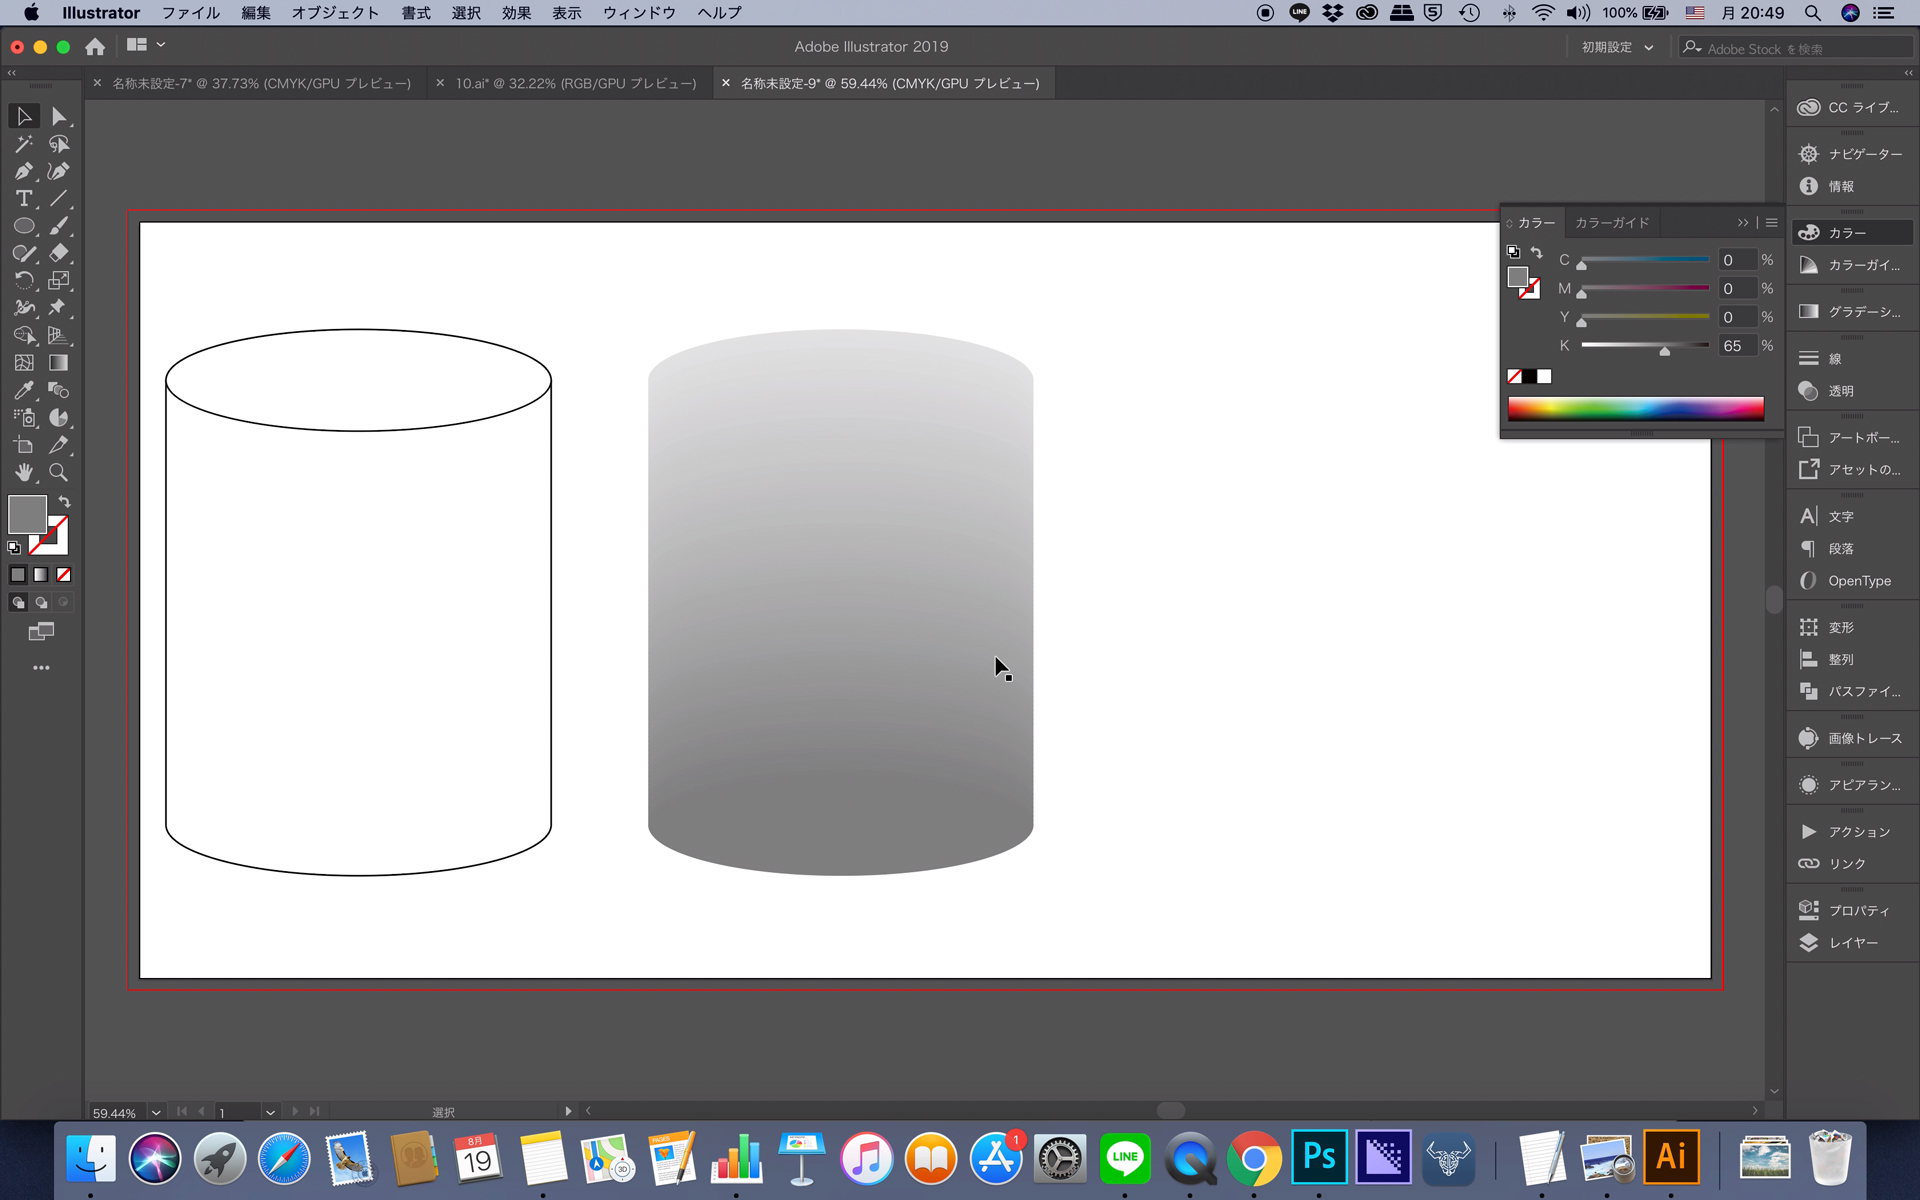
上の円と下の円をに色をつけます。
その際には、下の色の明度を下げてください。
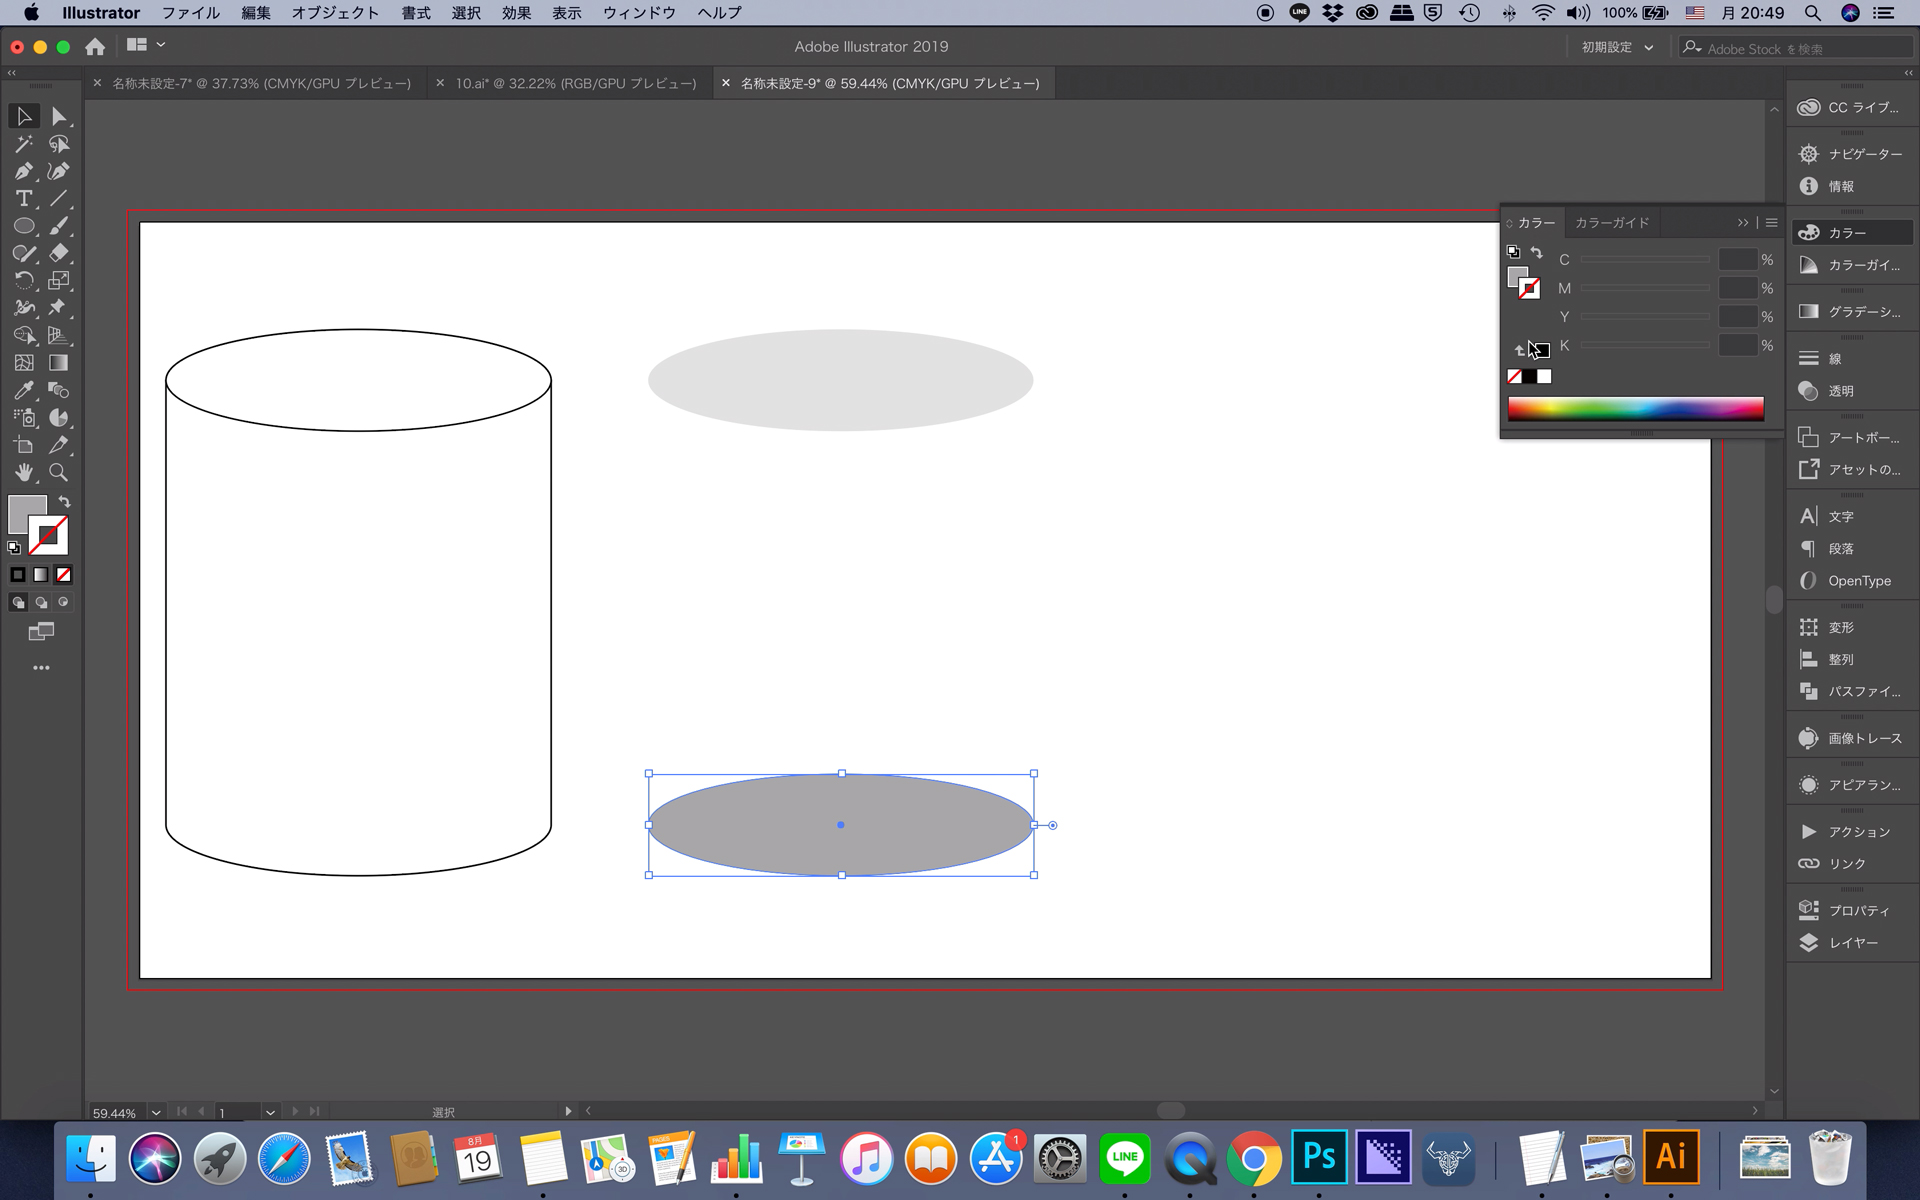
この2つの楕円をブレンドします。
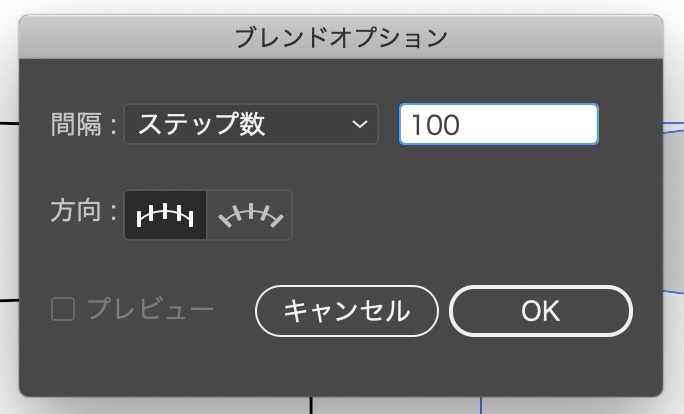
「オブジェクト」→「ブレンド」→「ブレンドオプション」でブレンドの設定を行います。
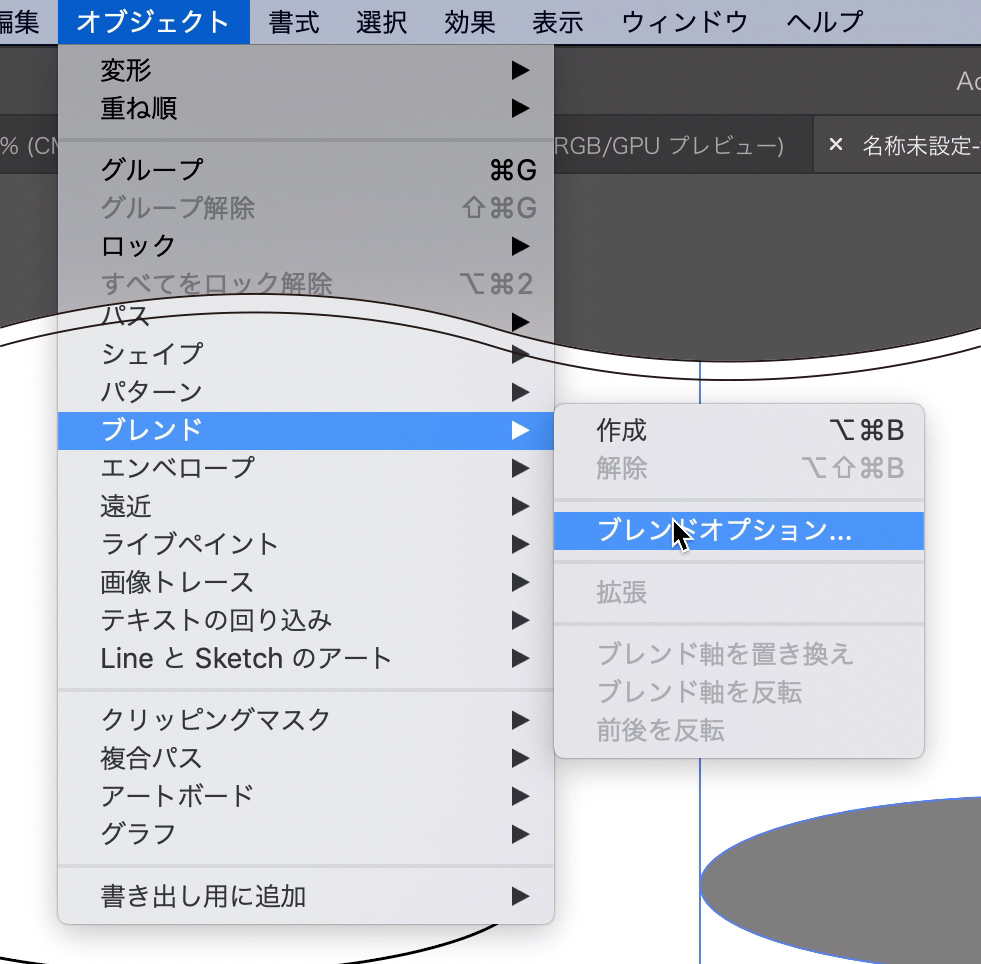
間隔をステップ数にして100にしてください。(ステップ数の100は適当です。上の楕円と下の楕円の間の楕円の数なので数が多ければ多いほど綺麗に円柱が表現されます。)
ブレンドオプションを設定したら、2つのオブジェクトを選択した状態でブレンドを行います。ブレンドは「Ctrl+Alt+B」でできます。
効果「3D」を使用
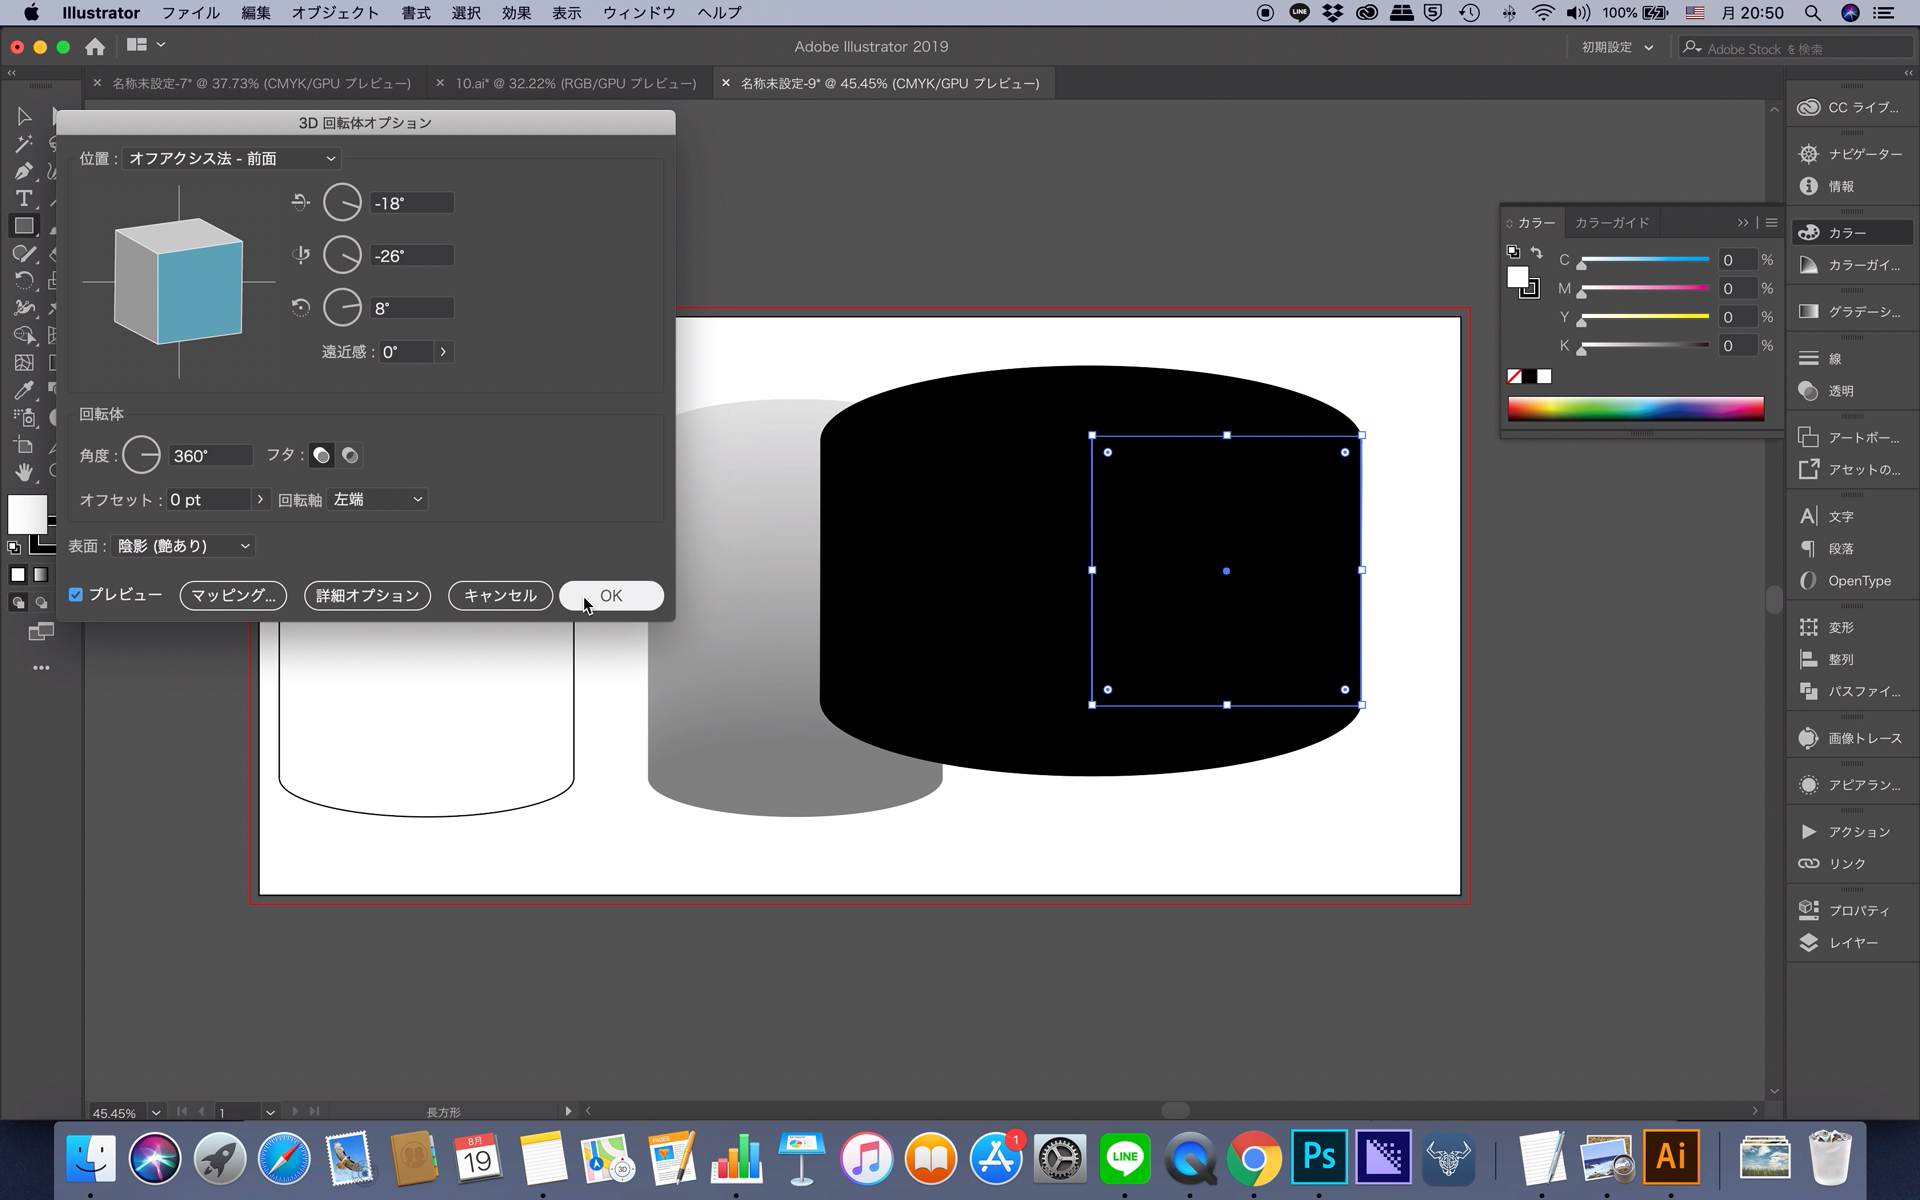
まずは、正方形を作成します。

「効果」→「3D」→「回転体」で円柱を作成します。
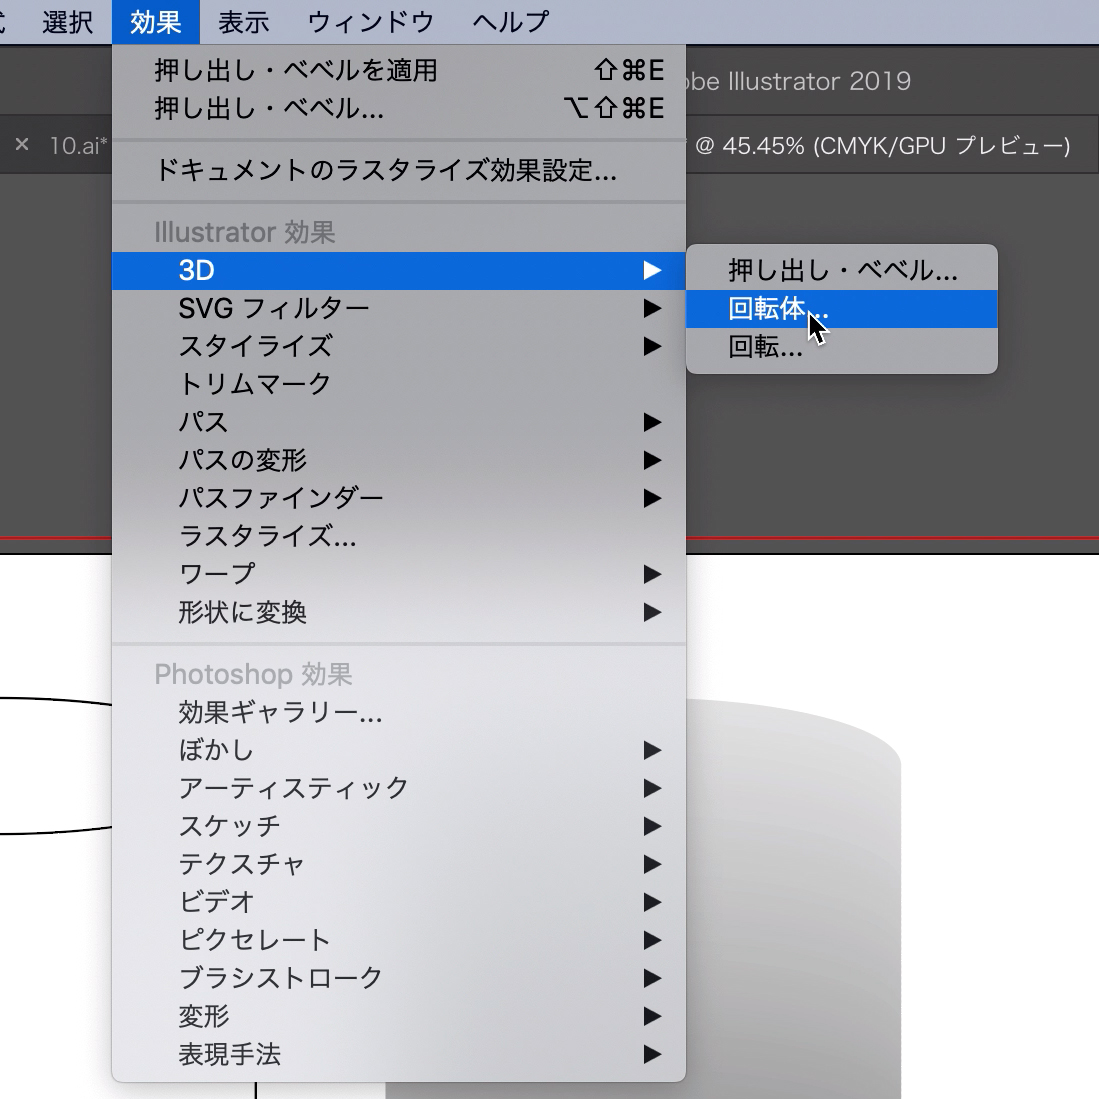
オプションの数値を設定して完成です。
「オブジェクト」→「アピアランスを分割」で細かく色の修正ができます。
今回は、円柱の作成方法に関してでした。
個人的には、一番上の方法が簡単にイメージ通りの円柱が作成できます。
色々試してみて、自分に最適の方法を使ってください。